


Hello,
Previously I published articles about How to Integrate Responsive File Manager in CK-Editor In Laravel and How to Install Ckeditor on Laravel today I'm going to teach you how to install Tinymce and file manager on laravel 5.4/5
About this article
In this article I'm not going to tell you good and bad and such things, what I'm trying to teach you is how to install and use tinymce in laravel, you always can find those kind of information in forums by simple searching.
Let's Begin,
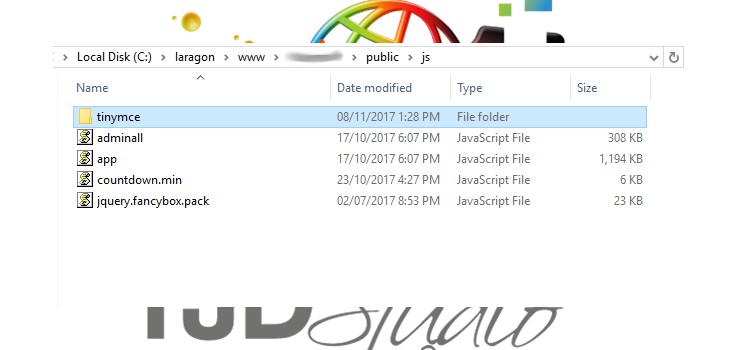
2- Extract and copy files in public folder -> js folder
3- Install Laravel elfinder package This package we will use to import file and images in our text editor.
4- Import Tinymce JavaScript files in head of your blade
Example:
Go to your blade for creating posts in top of your content section add code below
And in bottom of your page where content section finishes add code below
NOTE1: I imported some plugins that might not be included default package that you'll download from tinymce (you can edit or download those from tinymce website)
NOTE2: edit YOUR_DOMAIN.COM to your domain (local or host)
NOTE3: If you wonder where these scripts and styles sections came from, they are yielded in my layout here is example of it:
... Codes Above....
@yield('styles')
As you see I loaded my styles section top of my layout under latest css file and my scripts section bottom of my layout after latest script file. In this way I always load files that are using in every page and then load each page different styles and scripts.
PS: If you thinking that I loaded my editor javascripts in styles section and I did wrong, you are mistaking because I wanted to my JS files to load in head of my page as it is required.
Anyway, lets back to tutorial,
5- Next step is to add our class to Textarea input field, as you can see in our scripts I provided class name editor
selector: "textarea.editor",So I need to give this class in my Textarea field, like:
Now editor works just fine, refresh and test it out.
Oops...!
Elfinder not working! when you click on upload button you'll get error, how to fix it?
6- Go to vendor/barryvdh/laravel-elfinder/config open elfinder.php
7- edit line 43 'middleware' => 'replace-this-with-your-middleware', to 'middleware' => 'auth' in this case only logged users can use elfinder (you're free to use any middleware you like)
Now it should work.
Troubleshooting
You could face white page error of laravel 5.5
Sorry, the page you are looking for could not be found.
If so, open your config file again (no.7)
change line 27
to
Now everything works just fine and you have your complete text editor.
- Last updated 6 years ago
Ads


Be the first to leave a comment.
You must login to leave a comment